Automate connecting to devices via Iterm2
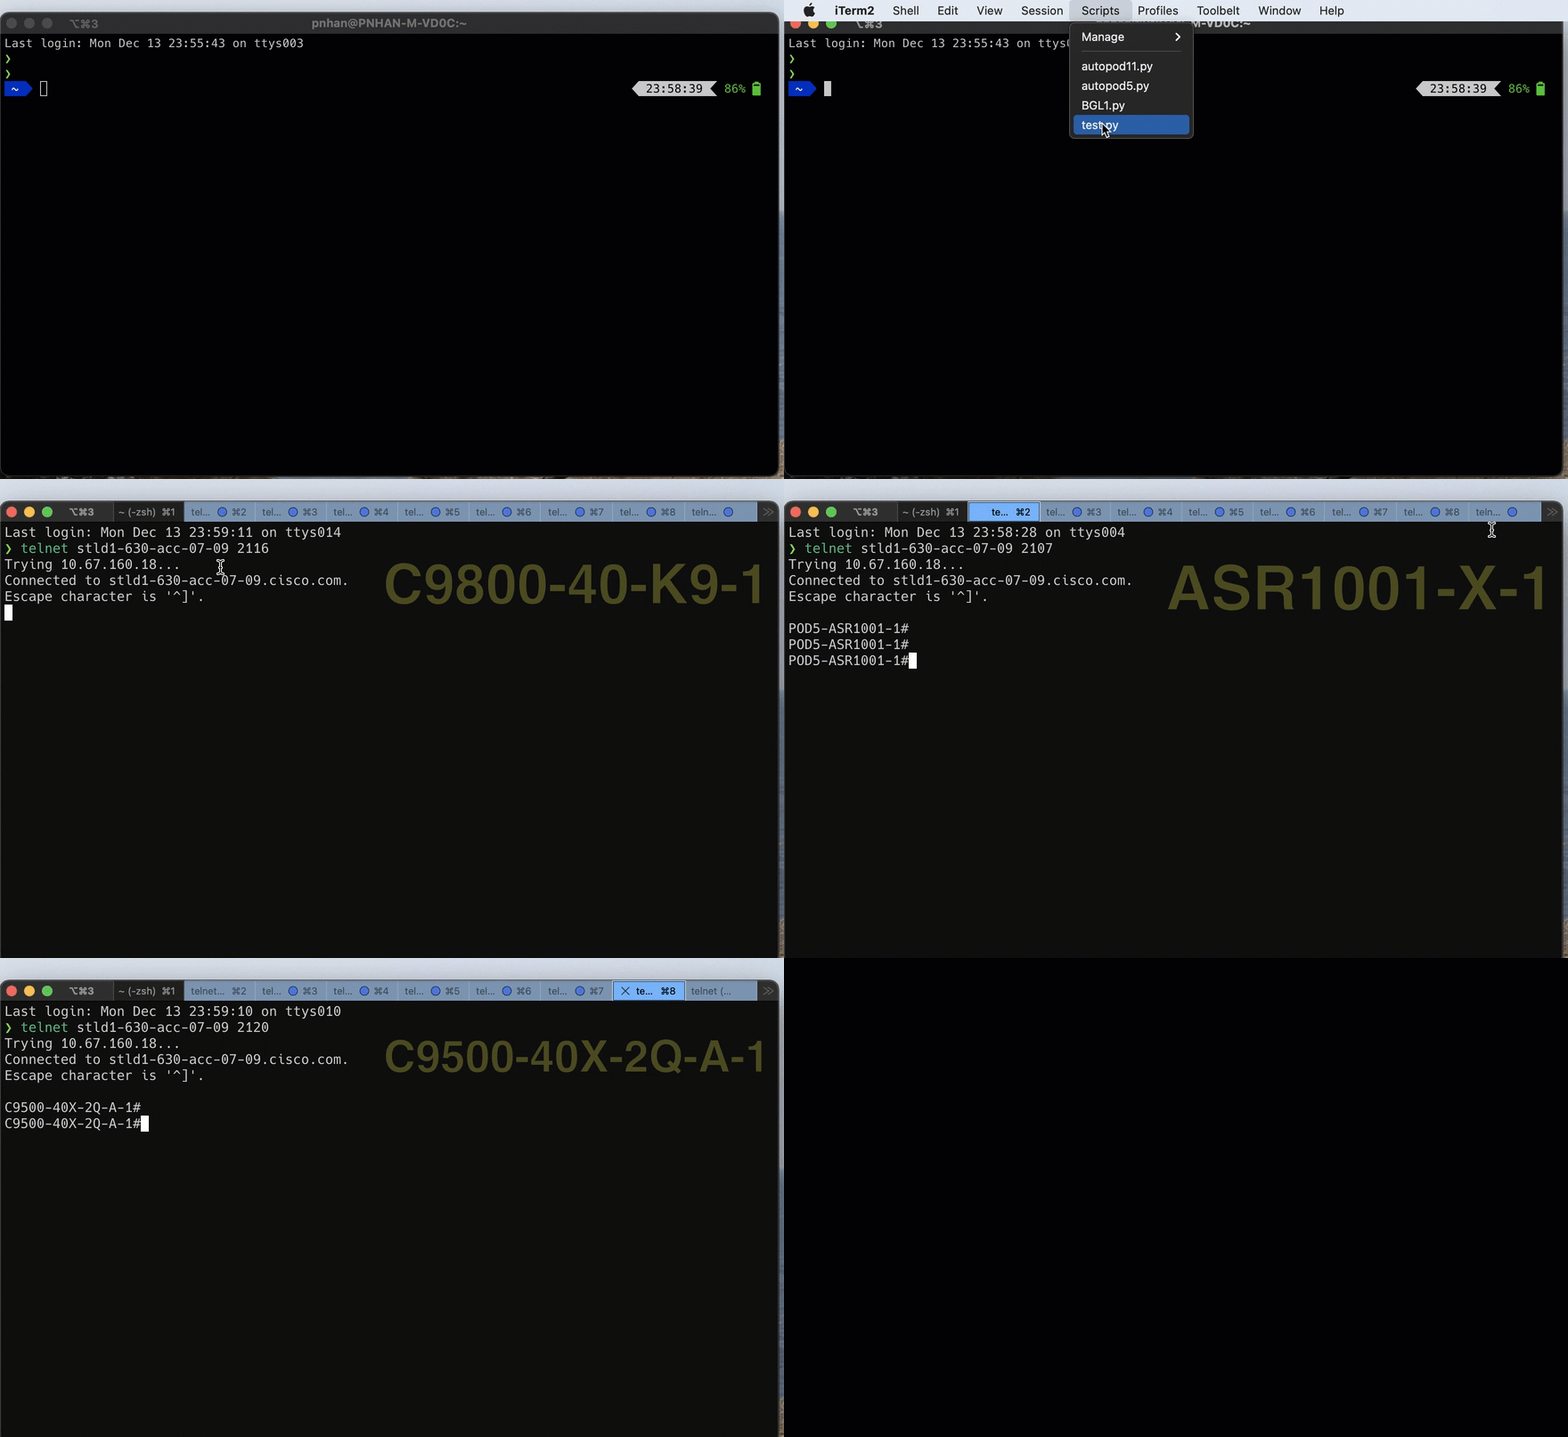
If you are like me and love to use Iterm2 but hate repeatedly spinning multiple session in individual tabs and setting the badge for each every time manually. And you do not want to setup profile for each session. Then here is something that might help you - I have multiple individual python3 scripts in Iterm2. I would execute a particular script and that would spin up all the sessions that I need for the type of sessions/environment I need at the time.
Here is an animated gif to demonstrate what I mean.
To follow along, the files are available here. Github
We will be paying close attention to the following files:
- mylab.py - main script that Iterm2 uses that reads the below csv file.
- my_lab_sessions.csv - csv files that contains the badge name and command to connect to your devices, this could be ssh or telnet that you would normally use in Iterm2 Cli.
Code break down
Analysis of my_lab.py - Environment or Sessions script
Python file my_lab.py read the value of the session name and connecting methods and details from the from my_lab_sessions.csv file. The csv file are actual commands that Iterm2 will use to try to connect to your device, so it could be like - connecting to a terminal server on line 2047 telnet 192.168.1.1 2047
You can customise the csv filename by changing line 16 in my_lab.py.
- Line 5 - import iterm2 that is used by Iterm2
- Line 9 - grab the path of folder of the where the Iterm2 script lives
- Line 16 - make sure the csv file lives in the same path - if not change it to match, default installation the path is ~/Library/Application Support/iTerm2/Scripts
- Line 23-26 - changes the tab colour
- Line 28-29 - change the badge colour - it is the text that sits in the window - that helps you work out what the tab is for.
- Line 31 - reads in the first part of the csv file line - ‘name’ and use that value to set the badge text
- Line 34 - reads in the command from the second part of the csv file line - ‘command’ and use it to execute in Iterm2
1
2
3
4
5
6
7
8
9
10
11
12
13
14
15
16
17
18
19
20
21
22
23
24
25
26
27
28
29
30
31
32
33
34
35
36
37
38
39
#!/usr/bin/env python3
# Tutorial for scripting in Iterm2 https://iterm2.com/python-api/tutorial/index.html
import csv
import os
import iterm2

async def main(connection):
    # Programmatically grab the path where the script is executed
    script_dir = os.path.dirname(__file__)
    app = await iterm2.async_get_app(connection)
    window = app.current_terminal_window
    if window is not None:
        # Open CSV file - each line has name and command
        # Make sure this Python code and the csv file are place into ~/Library/Application Support/iTerm2/Scripts
        # If your csv filename is different please update below.
        with open(script_dir+"/my_lab_sessions.csv", "rt") as f:
            reader = csv.DictReader(f)
            # Loop through csv, line by line
            for csv_line in reader:
                await window.async_create_tab()
                session = app.current_terminal_window.current_tab.current_session
                # Change colour of tab
                change = iterm2.LocalWriteOnlyProfile()
                colour = iterm2.Color(102, 178, 255)
                change.set_tab_color(colour)
                change.set_use_tab_color(True)
                # Change colour of badge - text embedded into screen
                colour_badge = iterm2.Color(255, 255, 51, 129)
                change.set_badge_color(colour_badge)
                # Pull name from csv line and use for badge
                change.set_badge_text(csv_line['name'])
                await session.async_set_profile_properties(change)
                # Execute the command - could be telnet, ssh etc...
                await session.async_send_text(csv_line['command']+'\n')
    else:
        # You can view this message in the script console.
        print("No current window")

iterm2.run_until_complete(main)
Each line of the contains two parts: For example line 2 - Badge text name = C9500-16X-A-1 and Iterm2 will execute “telnet 192.168.1.1 2047” to connect to the device.
1
2
3
4
5
6
7
8
9
10
11
12
name,command
C9500-16X-A-1,telnet 192.168.1.1 2047
C9500-16X-A-2,telnet 192.168.1.1 2046
C9500-16X-A-3,telnet 192.168.1.1 2048
C9300-24P-A-1,telnet 192.168.1.1 2031
C9300-24P-A-2,telnet 192.168.1.1 2030
C9300-24P-A-3,telnet 192.168.1.1 2027
ISR4431-K9-1,telnet 192.168.1.1 2044
ISR4431-K9-2,telnet 192.168.1.1 2045
ASR1001-HX-1,telnet 192.168.1.1 2040
WLC C9800-1,ssh admin@192.168.1.2
WLC C9800-2,telnet 192.168.1.3
Iterm2 Dependency - Python Runtime
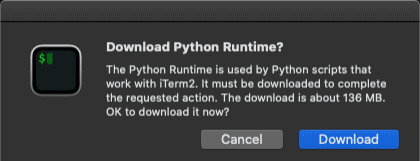
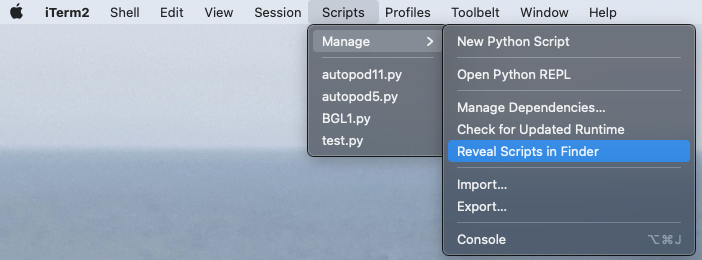
If you never have never used Iterm2 and the python automation feature. You may have to install Iterm2 Python runtime (100MB+). To trigger to the automatic installation. Scripts -> Manage -> New Python Script as shown below:
Open the folder in finder where all the python scripts should exist - place your python scripts and csv files here.
Summary
As you can see, it is pretty straight forward to automate in Iterm2 any repetitive task.
Hopefully you found it useful.
As always, please reach out if you have any questions or comments or suggestions.


